Video Presentation
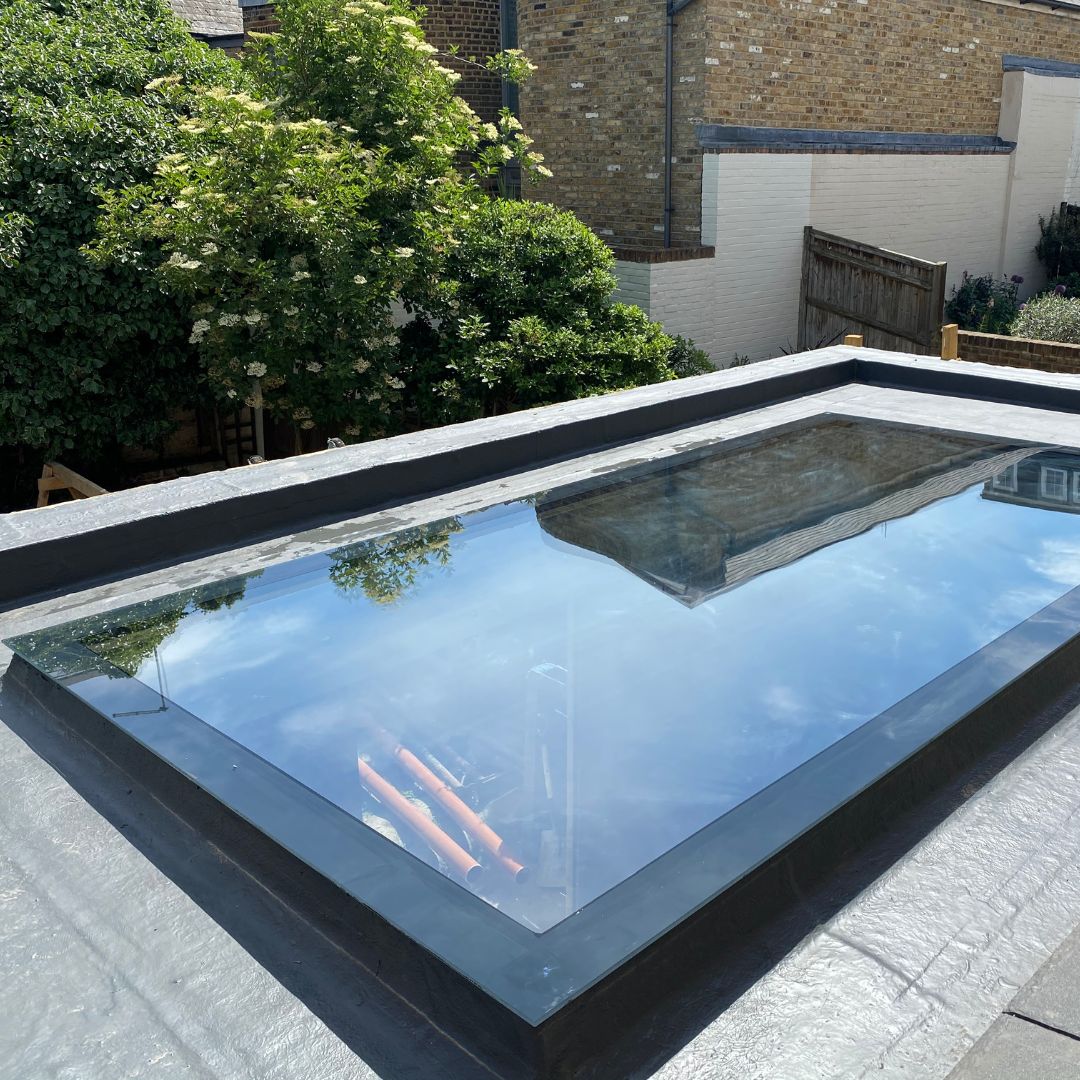
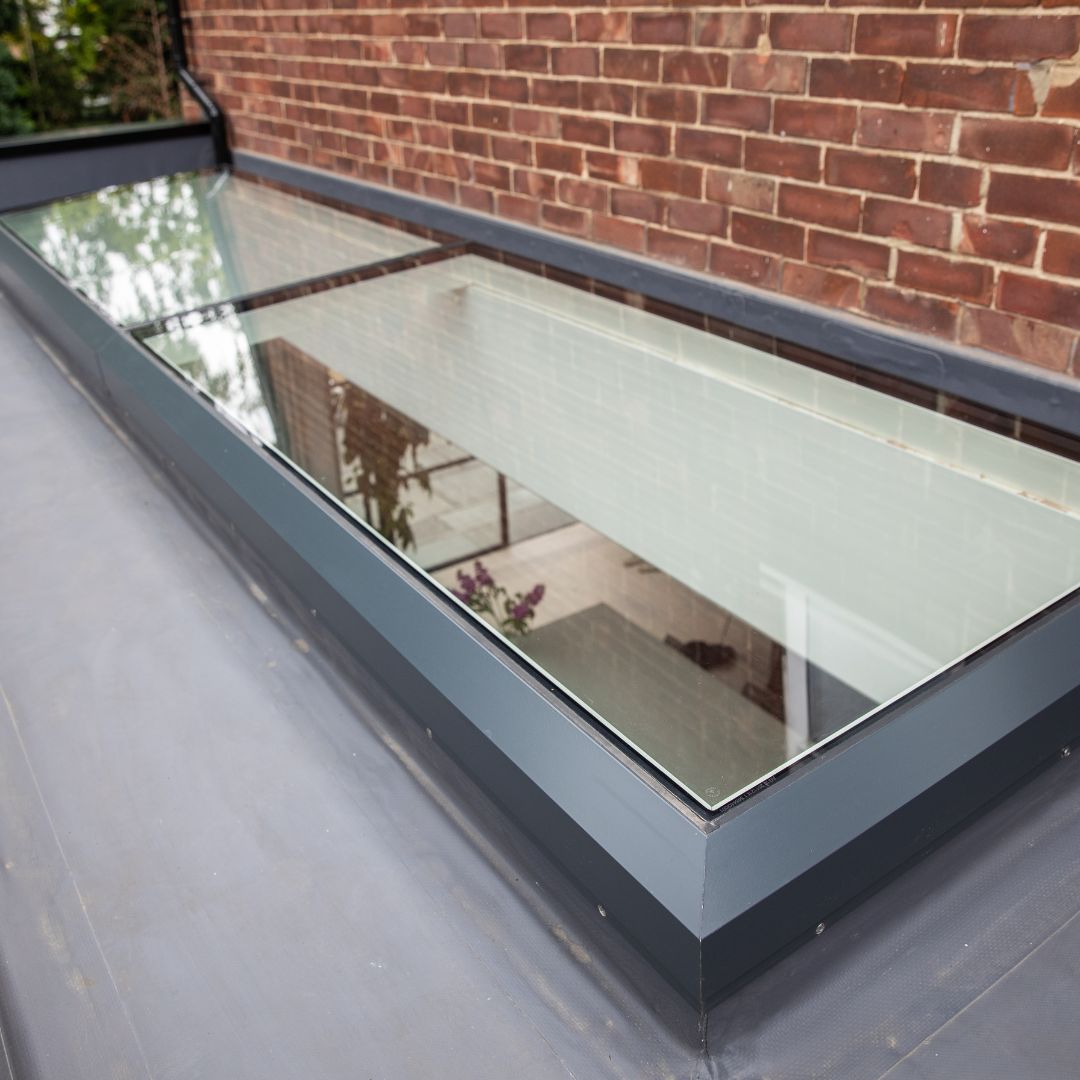
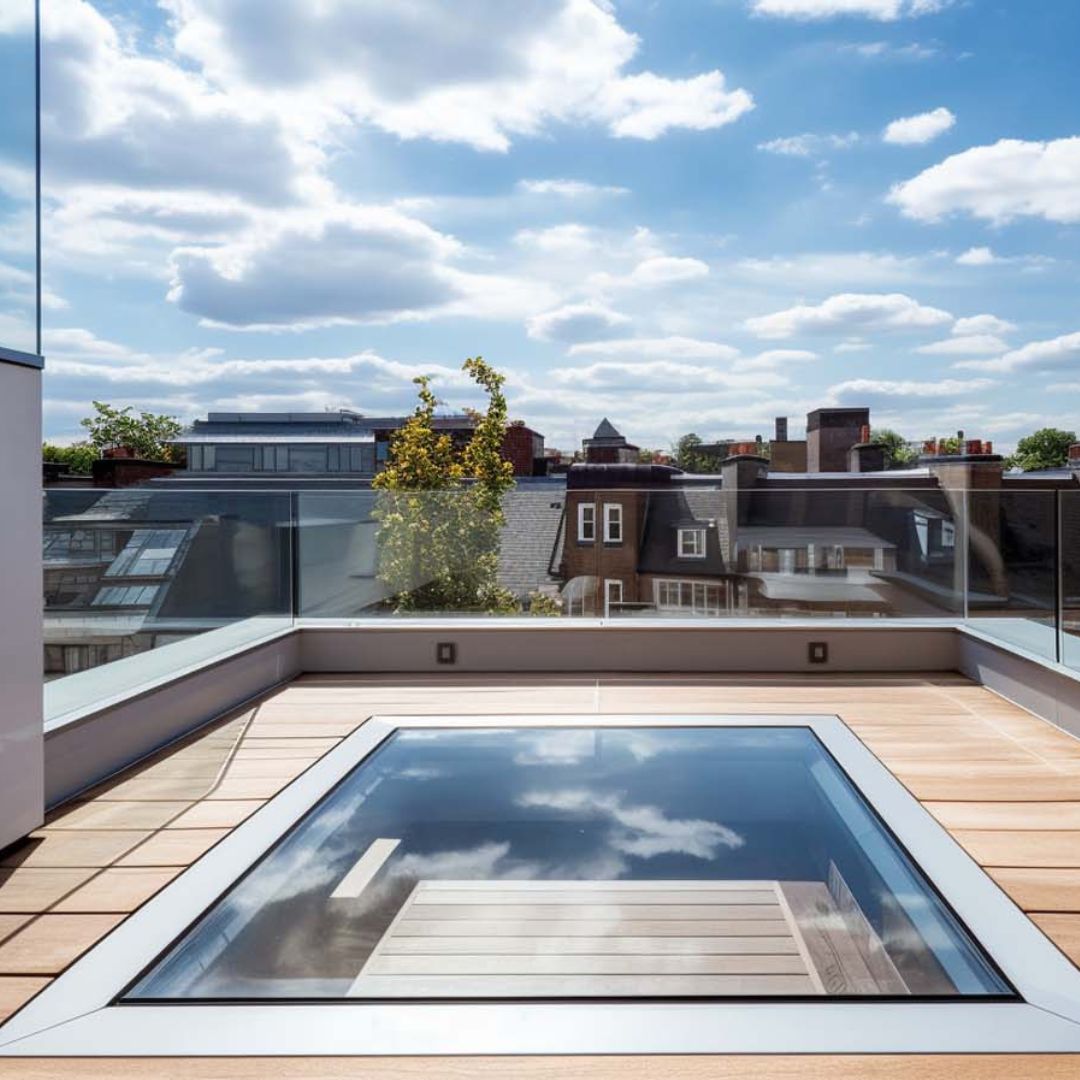
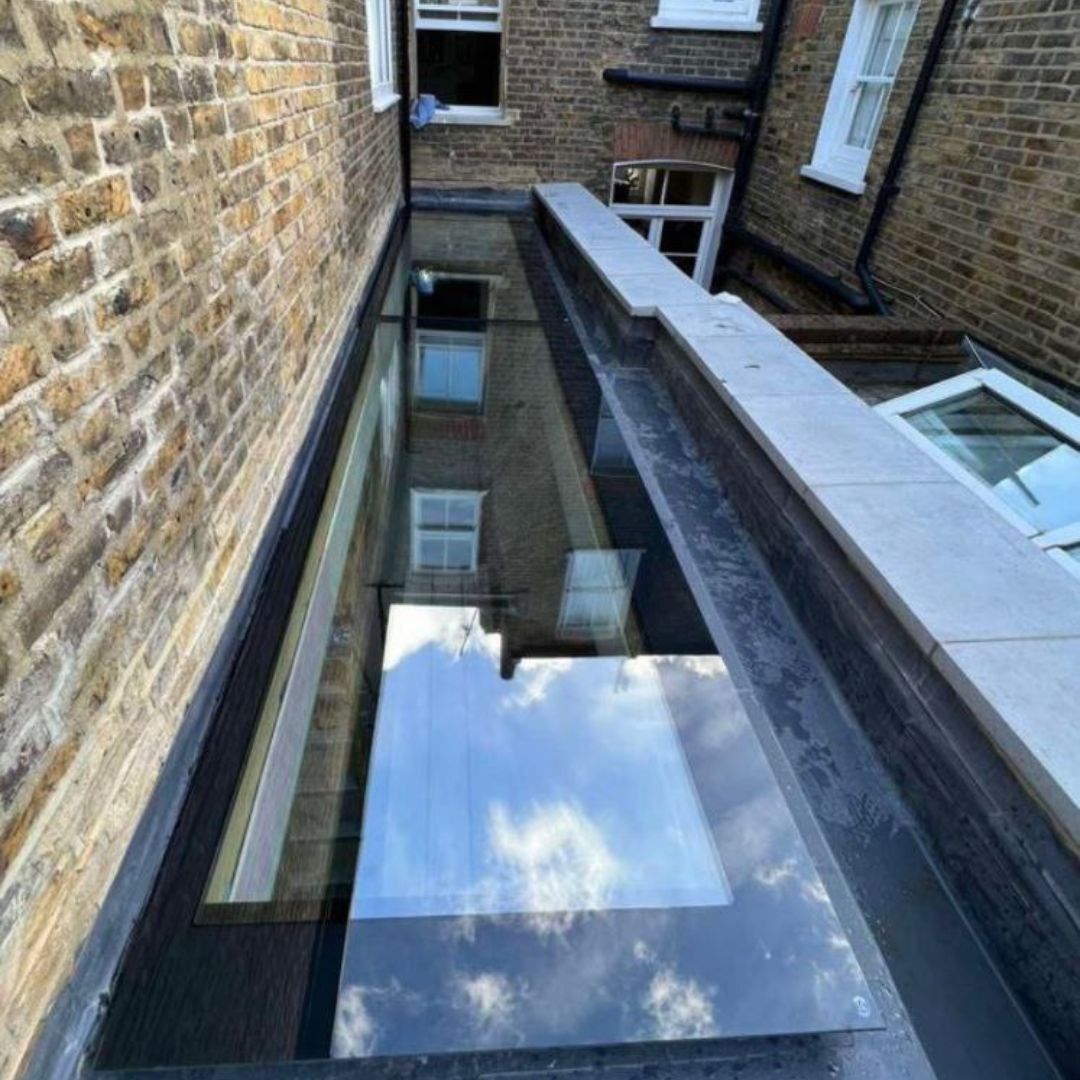
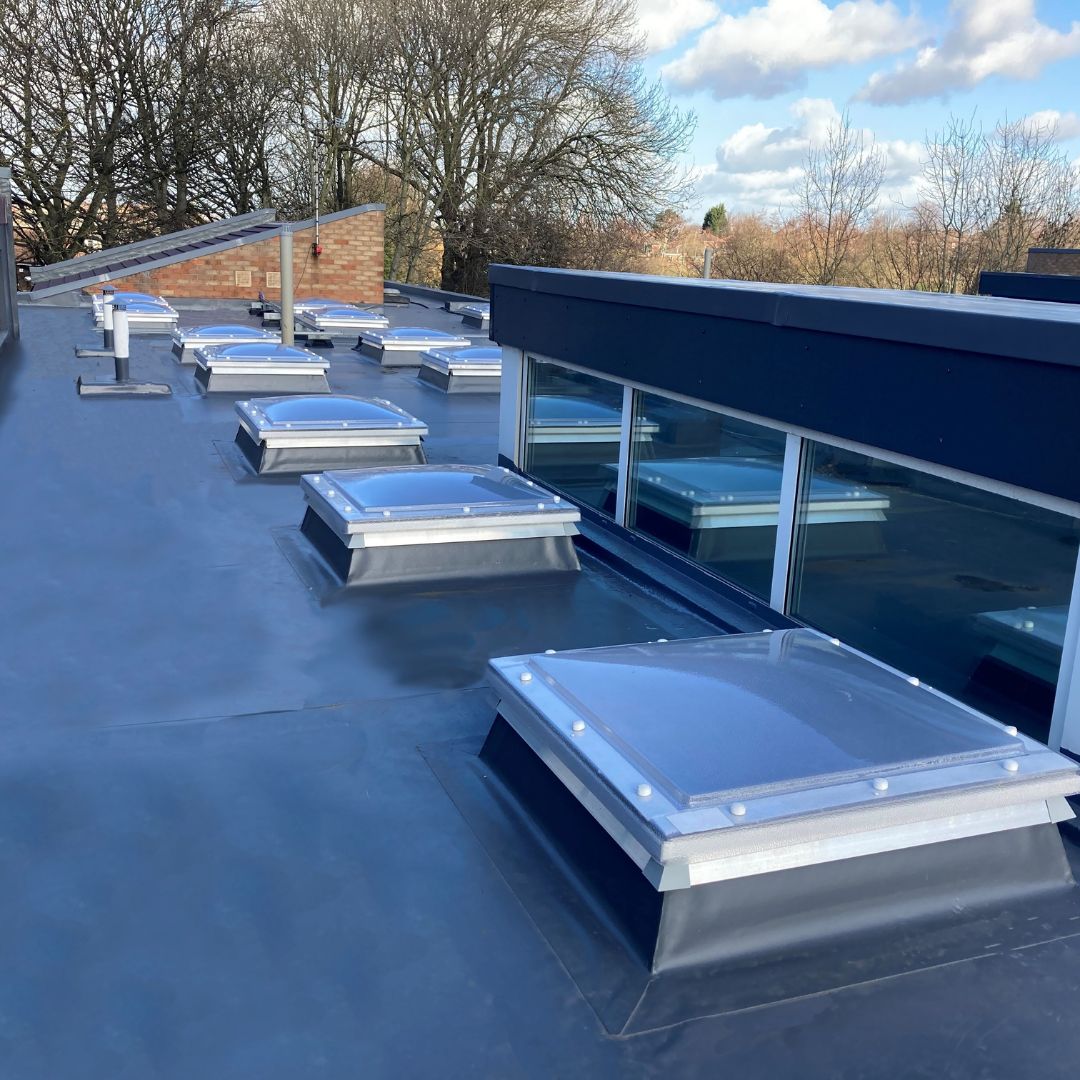
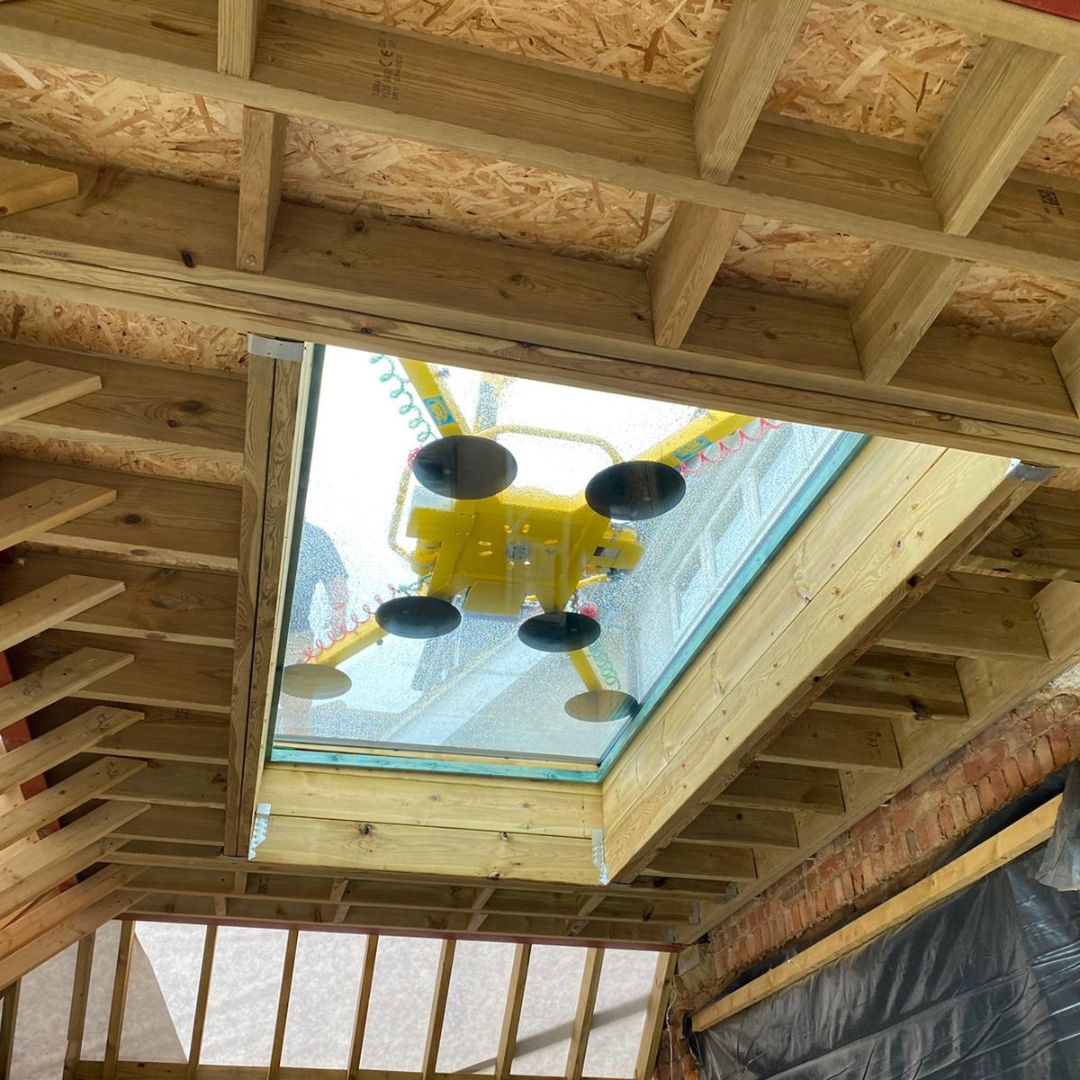
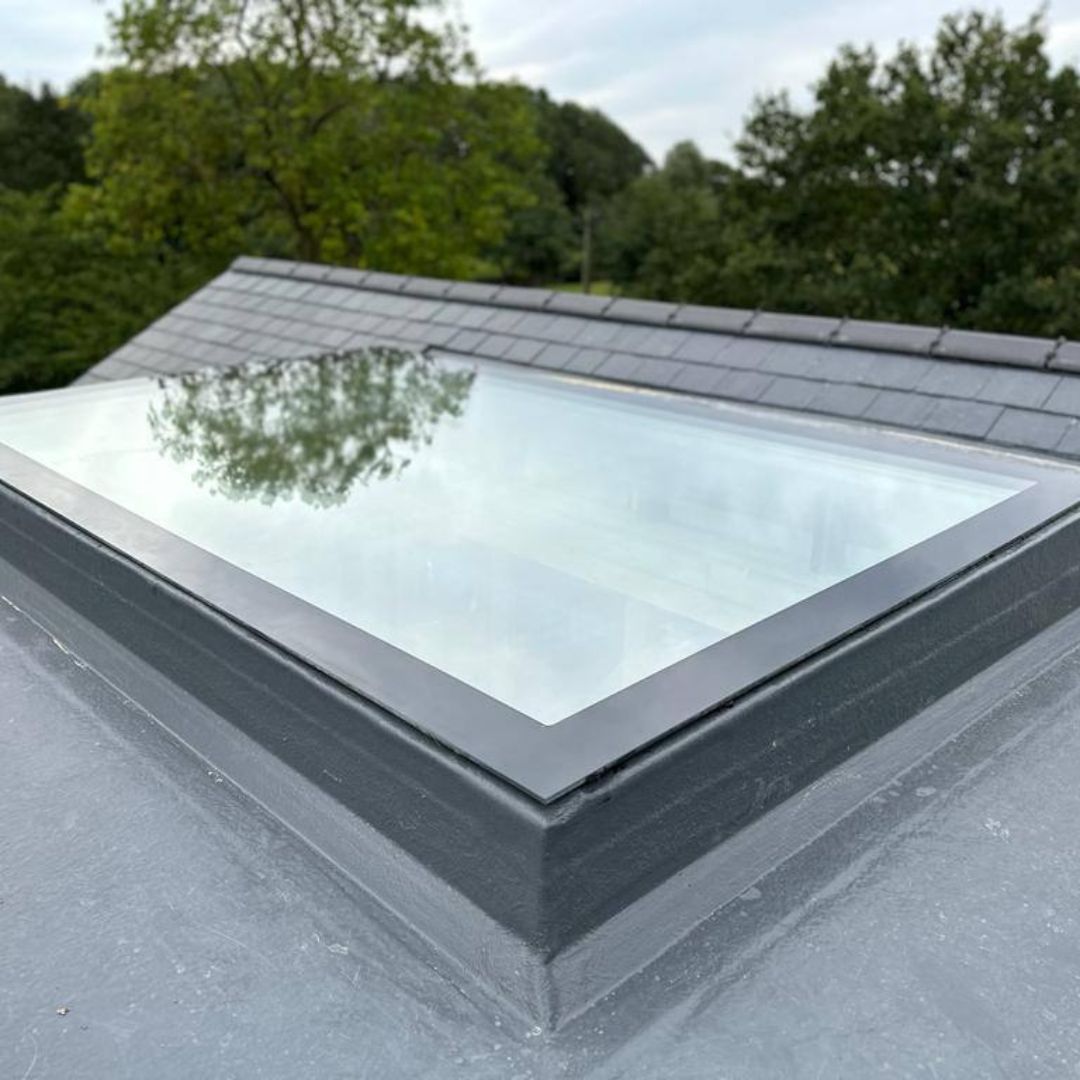
Install our Flat Roof Skylights effortlessly with our expert guide, crafted to prevent common installation errors. Remember, while our skylights are top-quality, proper installation is key and is the responsibility of the installer.
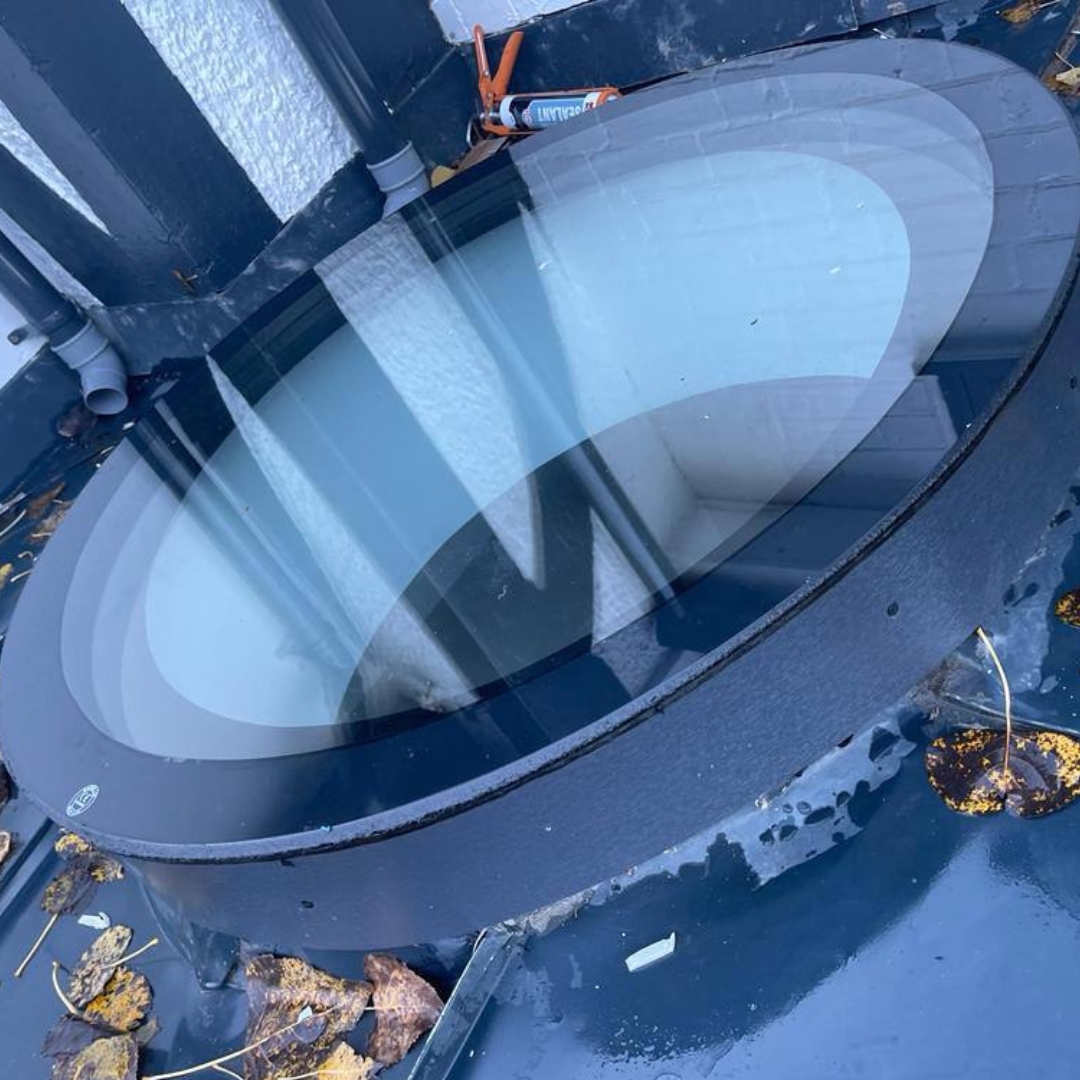
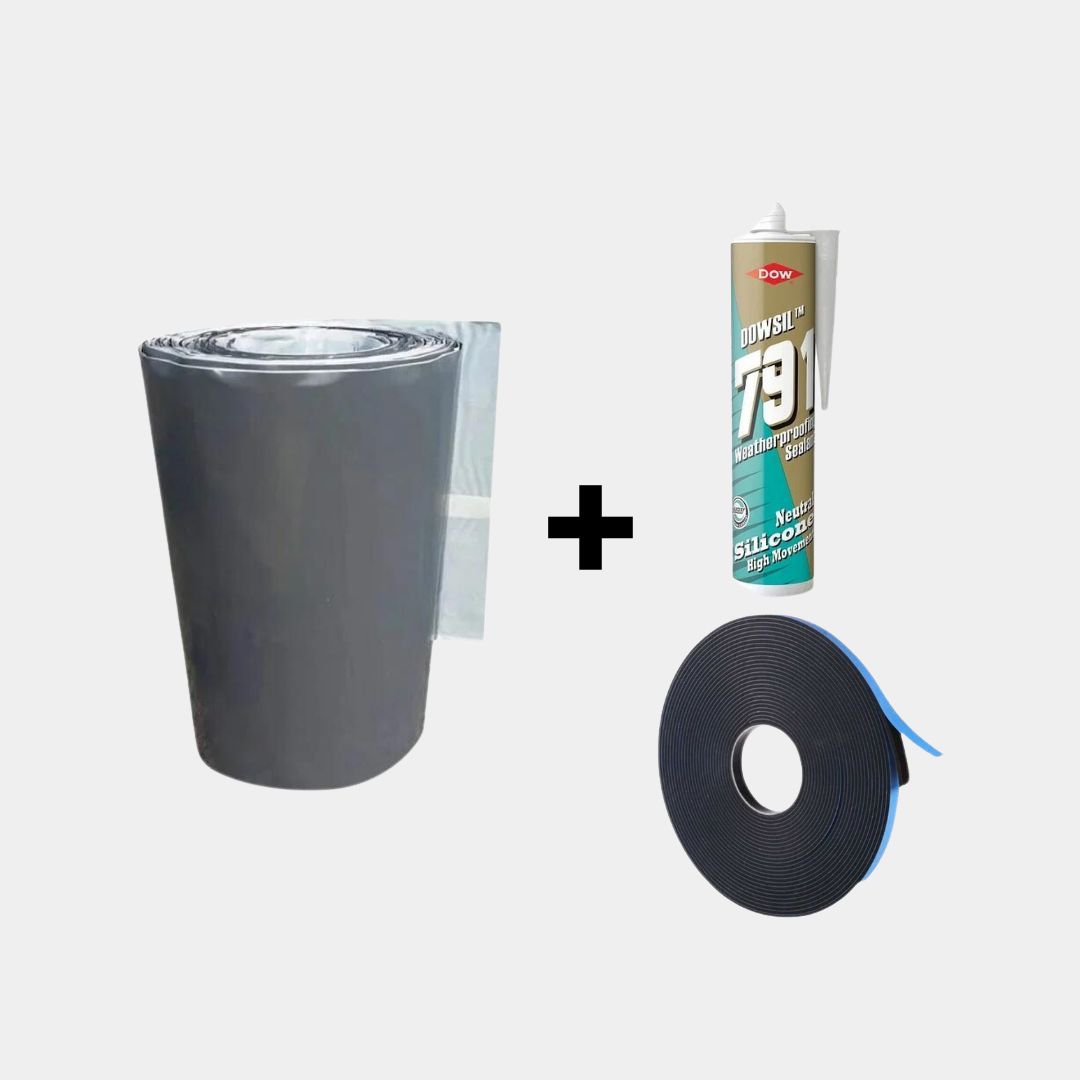
For optimal results and warranty assurance, use recommended products like DOWSIL 791 Weatherproofing Sealant and avoid acrylic sealants. Ensure a successful setup with the right accessories from us.
Video Presentation
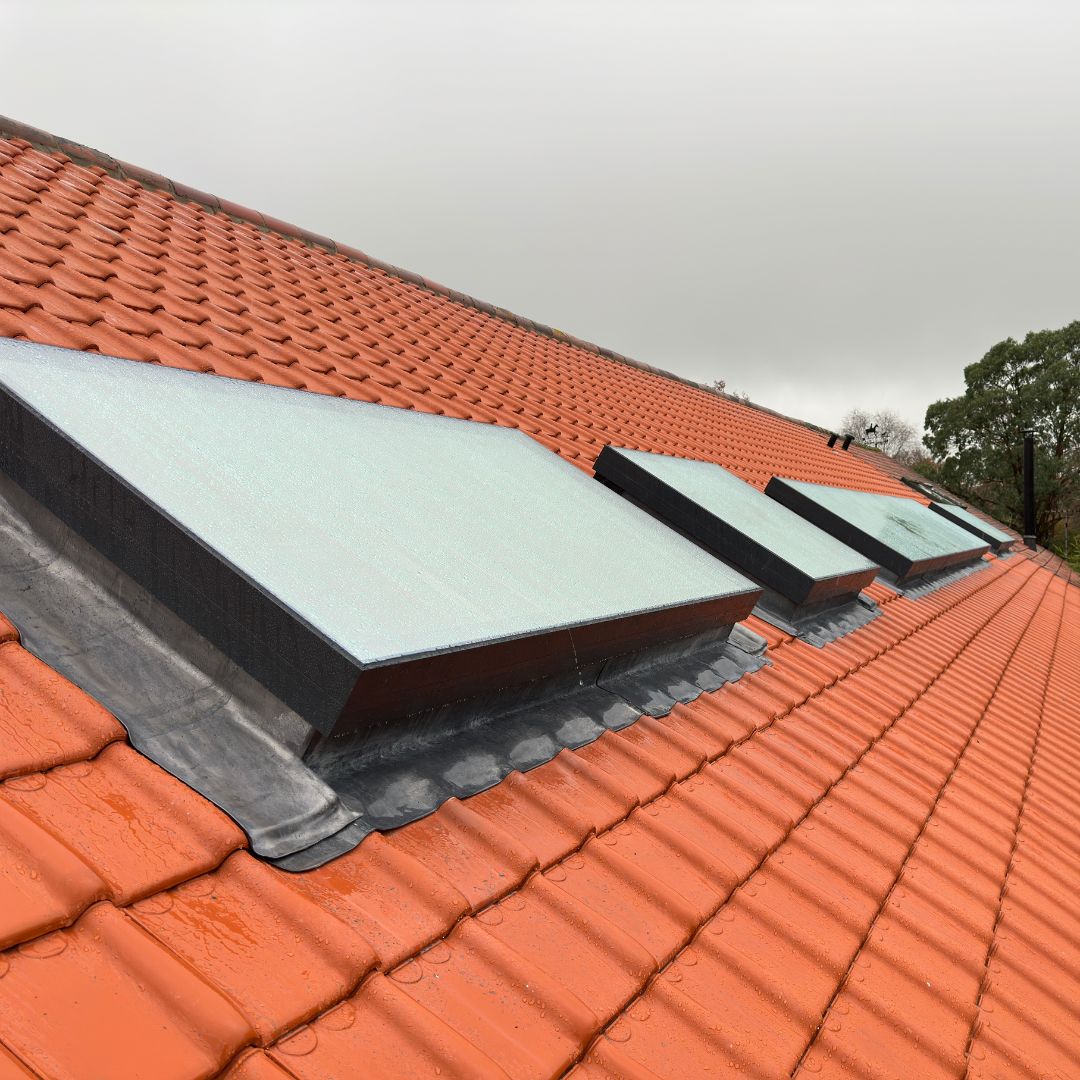
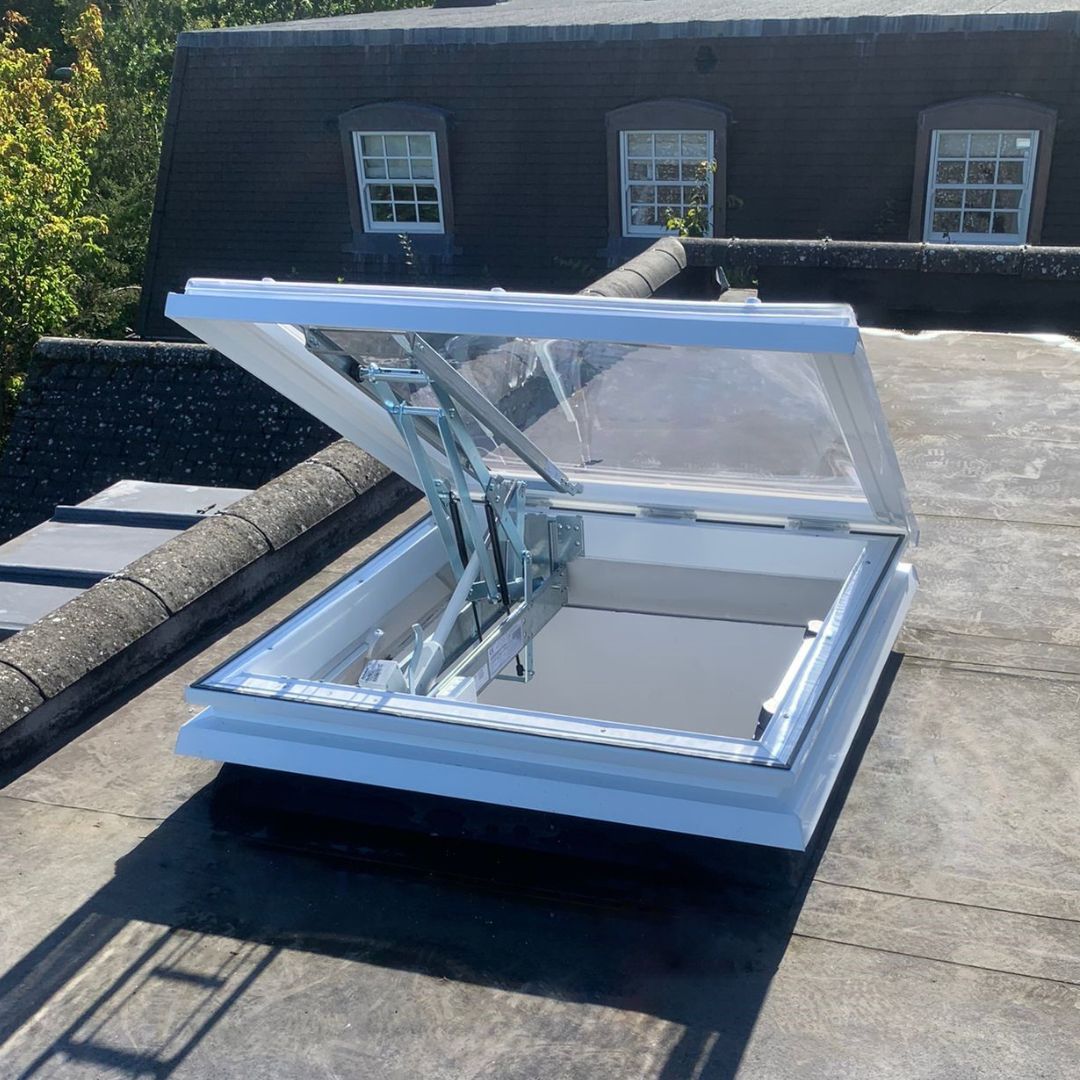
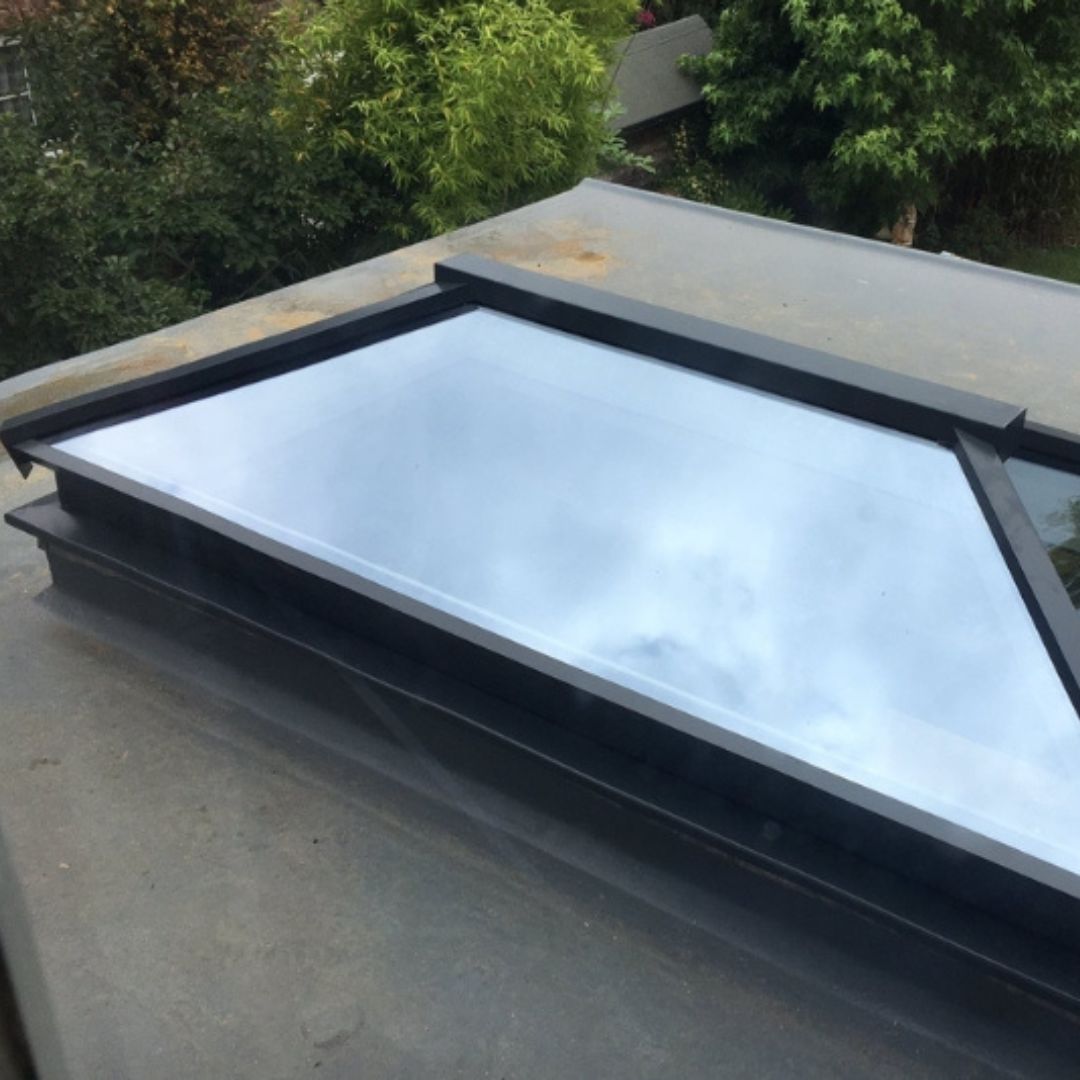
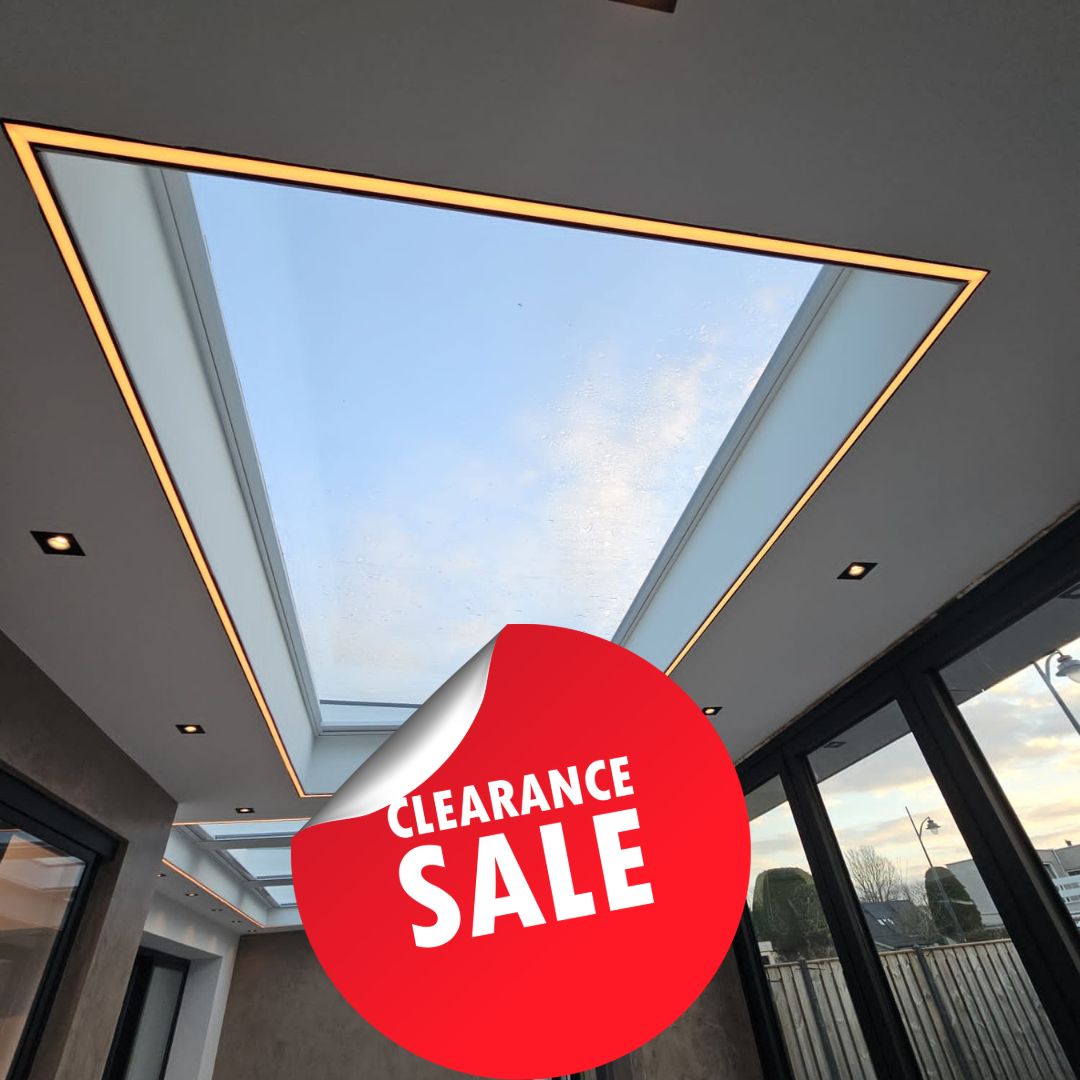
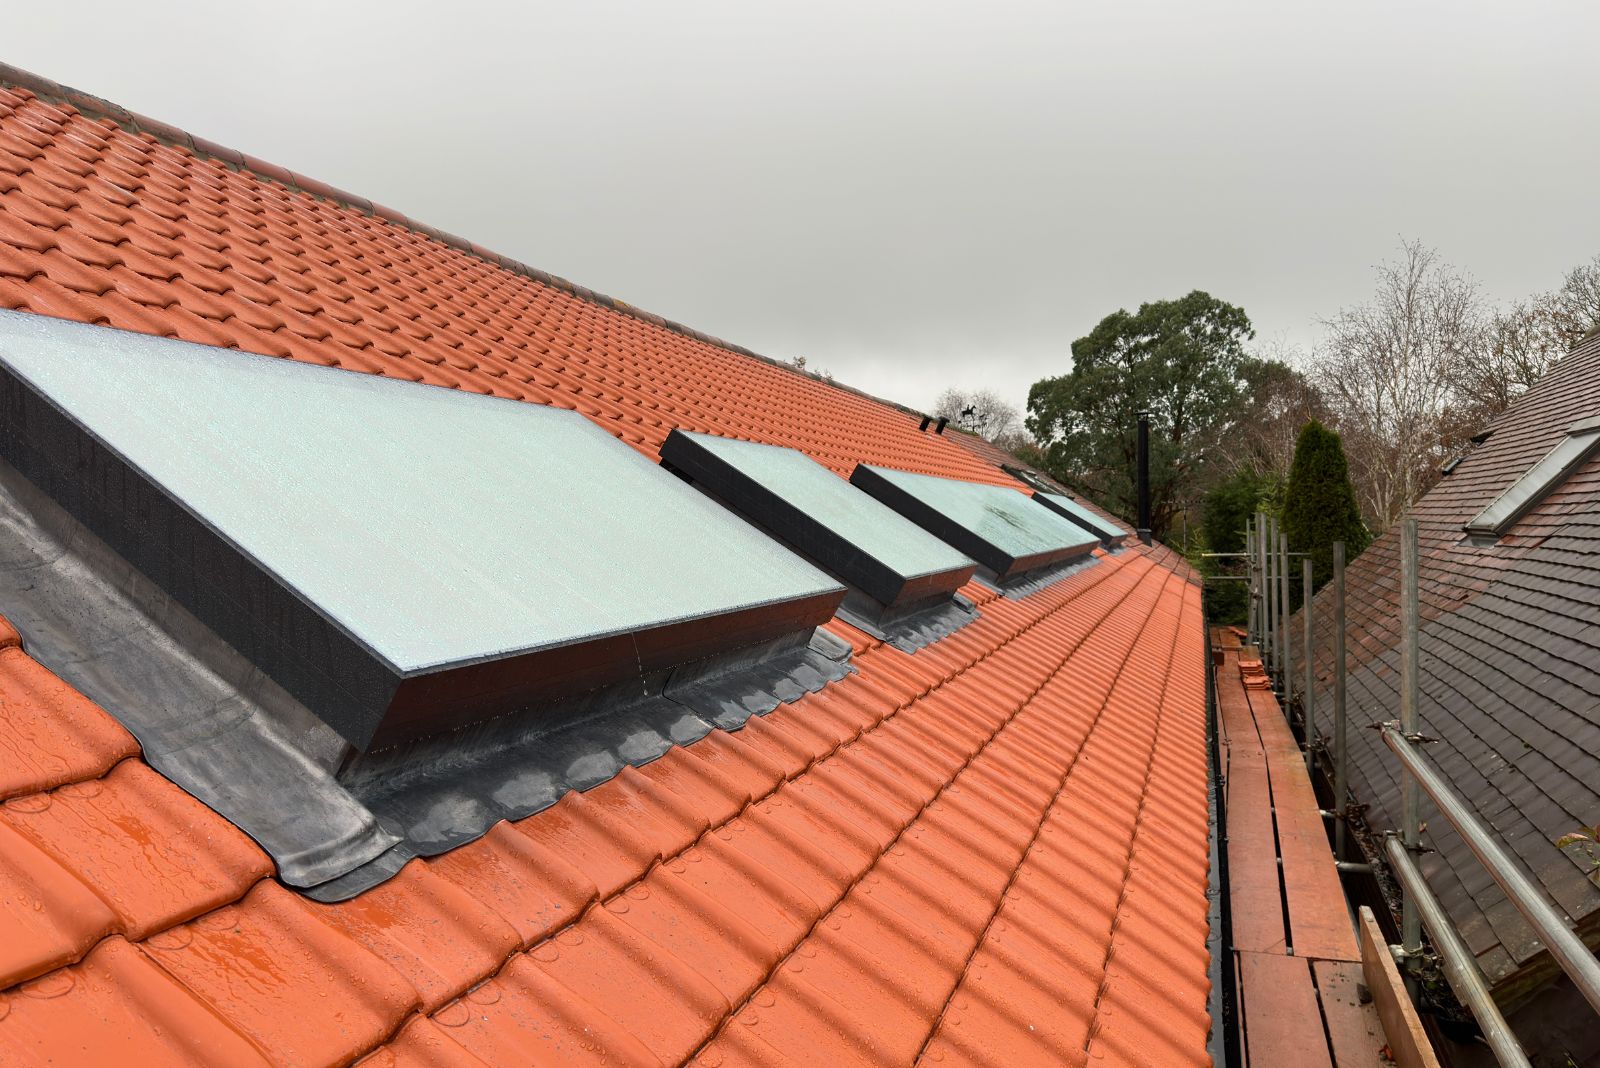
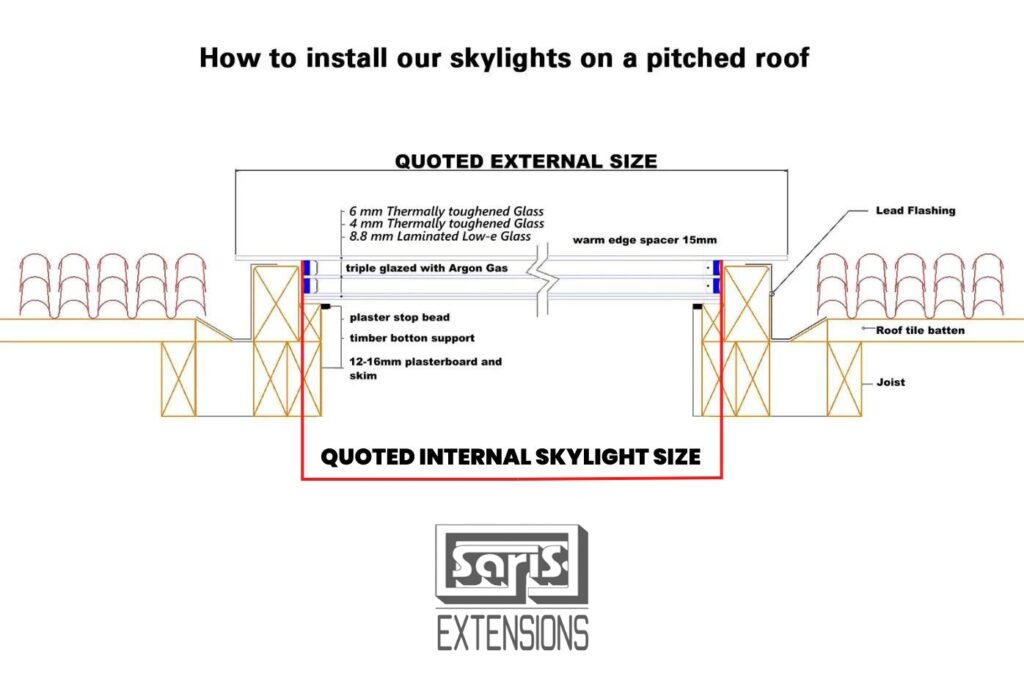
Efficiently install our Pitched Roof Skylights using our comprehensive guide, designed to navigate you through the process and avoid common pitfalls. The installation kit includes all necessary accessories, tailored for each type and size of skylight, ensuring a perfect fit and long-lasting performance.
Adhering to our installation guidelines and using the right kit is crucial for maintaining the integrity of the skylight and its warranty.
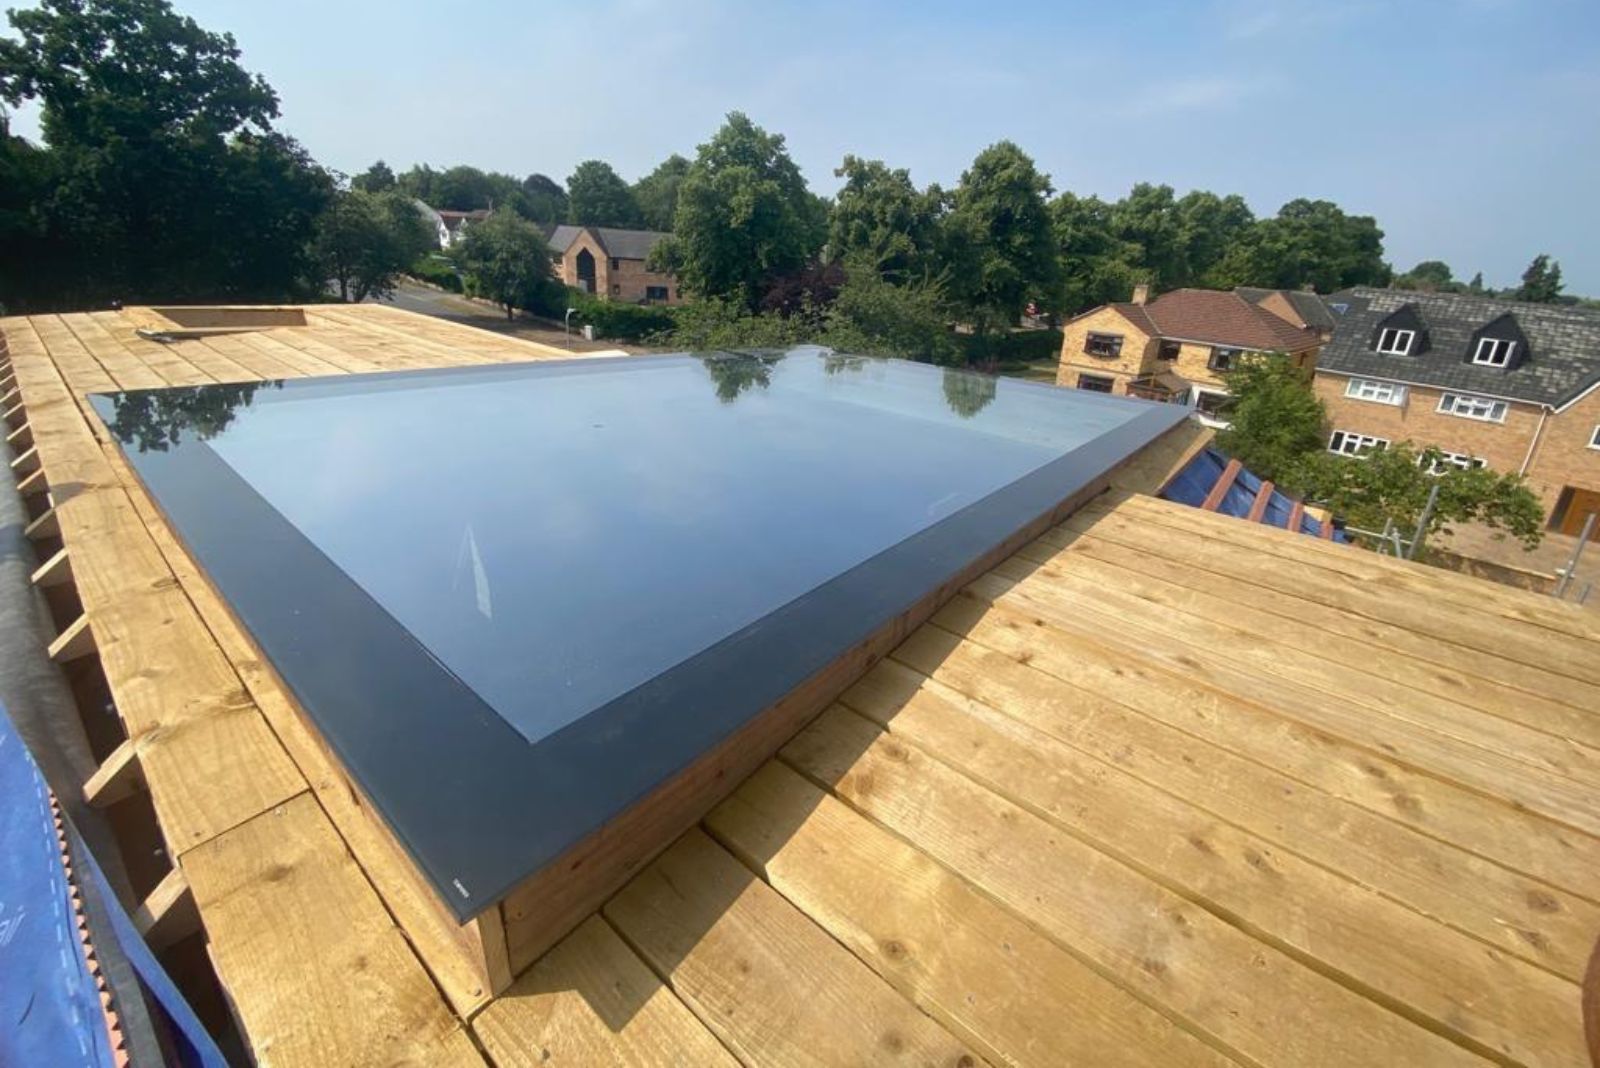
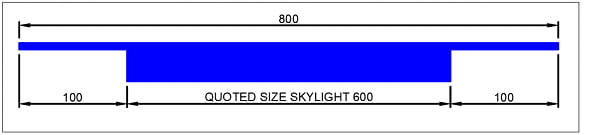
Bear in mind our Skylights sizes are the sizes of the bottom (internal) glass panel. The top panel is stepped by 100mm on each side, and the overall externally visible size is 200mm bigger in both directions:
For example, only in this guide will we present installation sketches for a Skylight 600mm x 600 mm. For all other sizes, we provide installation sketches in the gallery of each size separately.
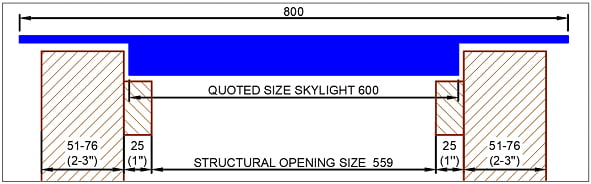
Double/Triple Glazed Skylight 600x600mm has the following sizes:
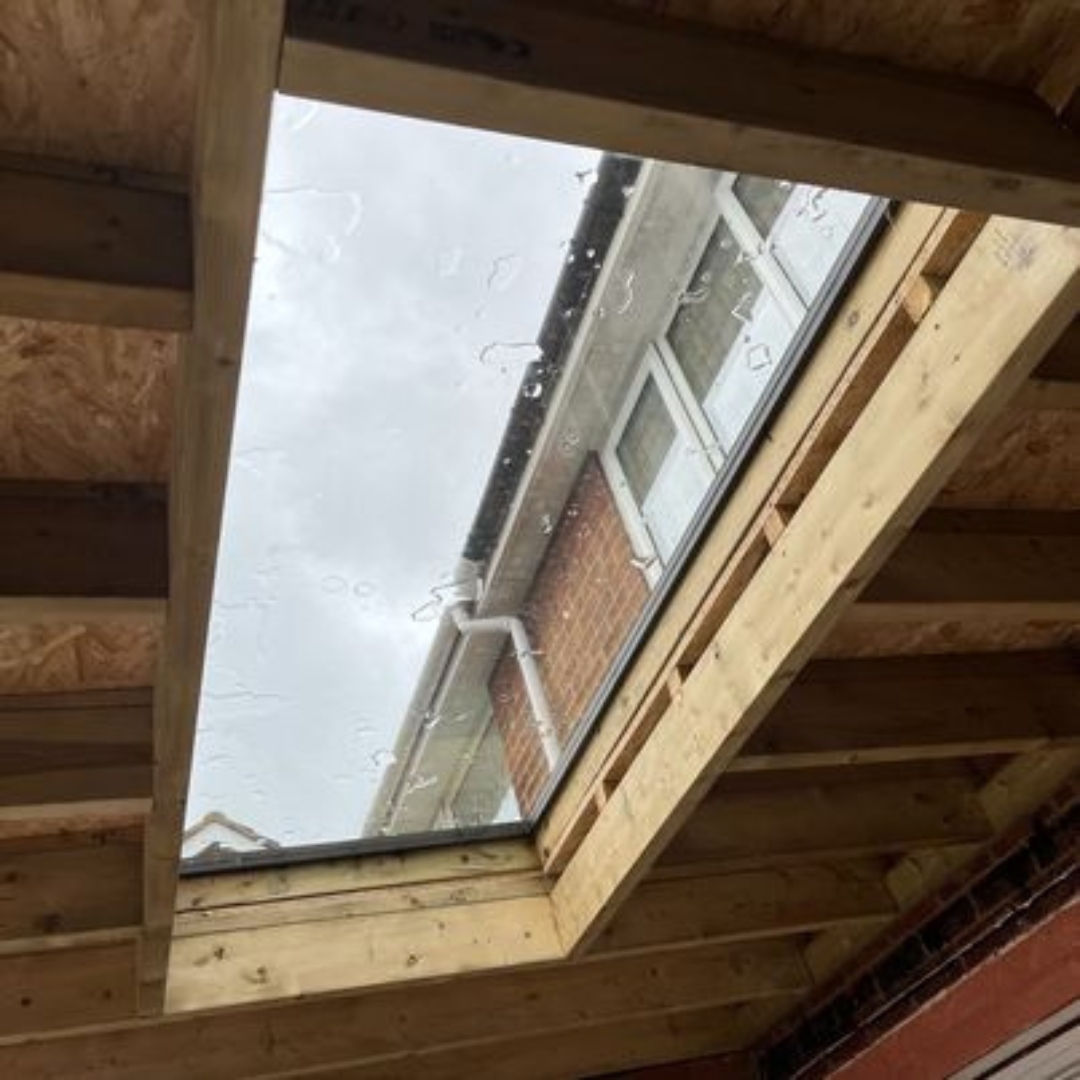
A minimum pitch of 8-10 degrees relative to the horizon must be provided to avoid water pooling in the middle of the glass panel (for every metre of Skylight a 10cm fall is required). It is worth spending a few extra minutes before applying the silicone to run a water test to ensure the water is not pooling (even though you are installing glass it will still bend in the middle). The internal distance upstand to upstand needs to be 10mm bigger than the quoted skylight size (in our example: 610mm by 610mm).
Upstand opening should allow for 5mm tolerance on each side:

Install the support in such a way that the top of support is as follows:
-Triple Glazed Skylight – 46mm below the top of upstand
The Skylight support is a 25x50mm (2”x1” ) timber:
Apply the roof covering material to cover the external face and top of the upstand.
Make sure all surfaces where the silicone will be applied are clean of dirt, dust, moisture, etc.
Once you finish weathering the upstand, you are ready to install the Skylight.

No account yet?
Create an Account