Safety and Compliance: Choosing the Right Skylight
When it comes to choosing a roof light for your home, we know that safety is an important deciding factor.
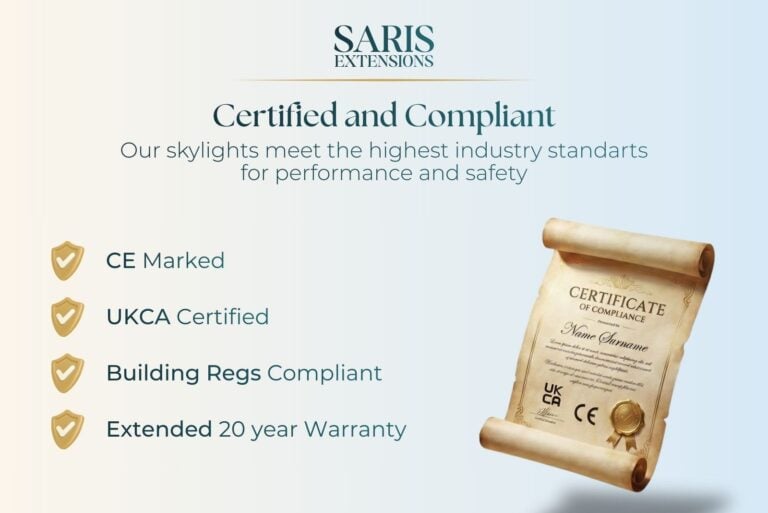
This product conforms to British Standards & Building Regulations and has all Safety Markings.
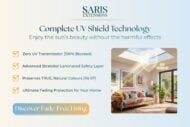
It is CE marked which is a certification mark that indicates conformity with the relevant EU directives and standards for products sold within Europe.
Our Skylights can be installed at a maximum pitch of 45 degrees.
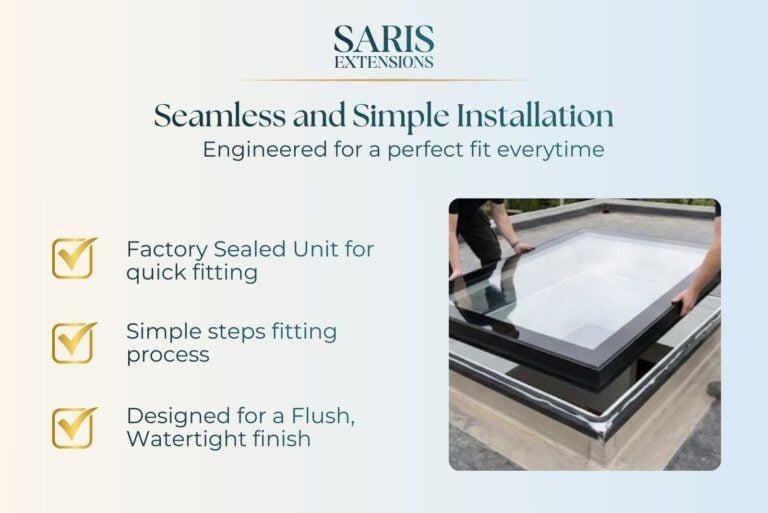
Installation Specifications and Recommendations:
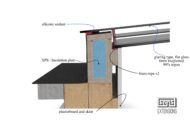
- Internal Dimensions: It's important to note that the top pane of glass includes a black border, extending the external dimensions of the unit by 200 millimetres in each direction.
- Creating the Opening: When preparing for installation, allow an additional 10 millimetres internally from upstand to upstand for proper fitting. For example, for a 600 by 900 unit, the opening should be 610 by 910 millimetres internally.
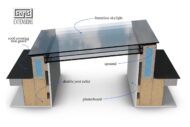
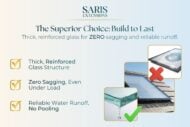
- Upstand Construction: We recommend constructing the upstand (the wooden framework housing the skylight) using two-by-one or two-by-two-inch timbers.
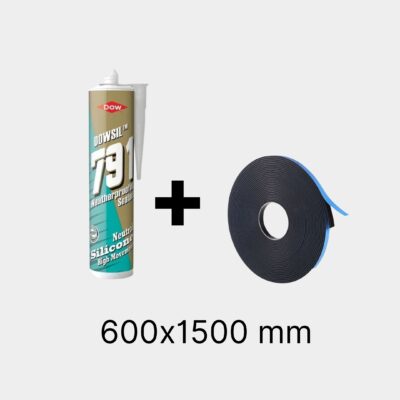
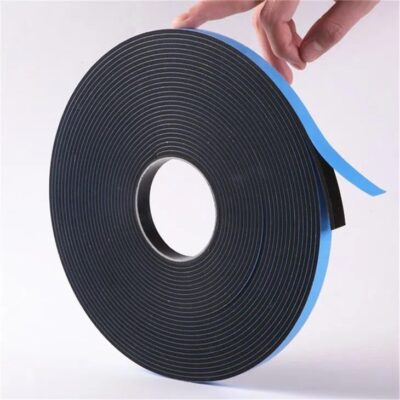
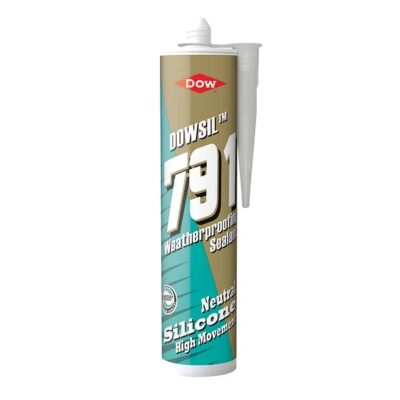
- Foam Rope and Sealant Use: For optimal installation, install foam rope on top of the internal supporting baton, which helps level out weight discrepancies and stress on the glass. We advise using Dowsil 791 black-coloured sealant to create a watertight perimeter around your upstand. Please note that acrylic sealants are not compatible with our units and should not be used.
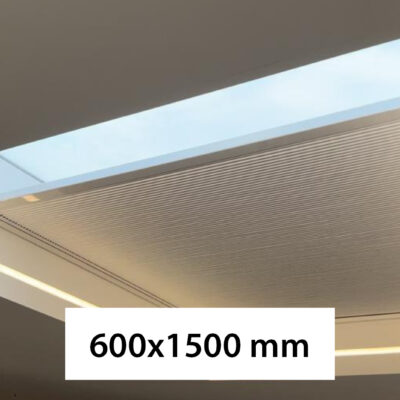
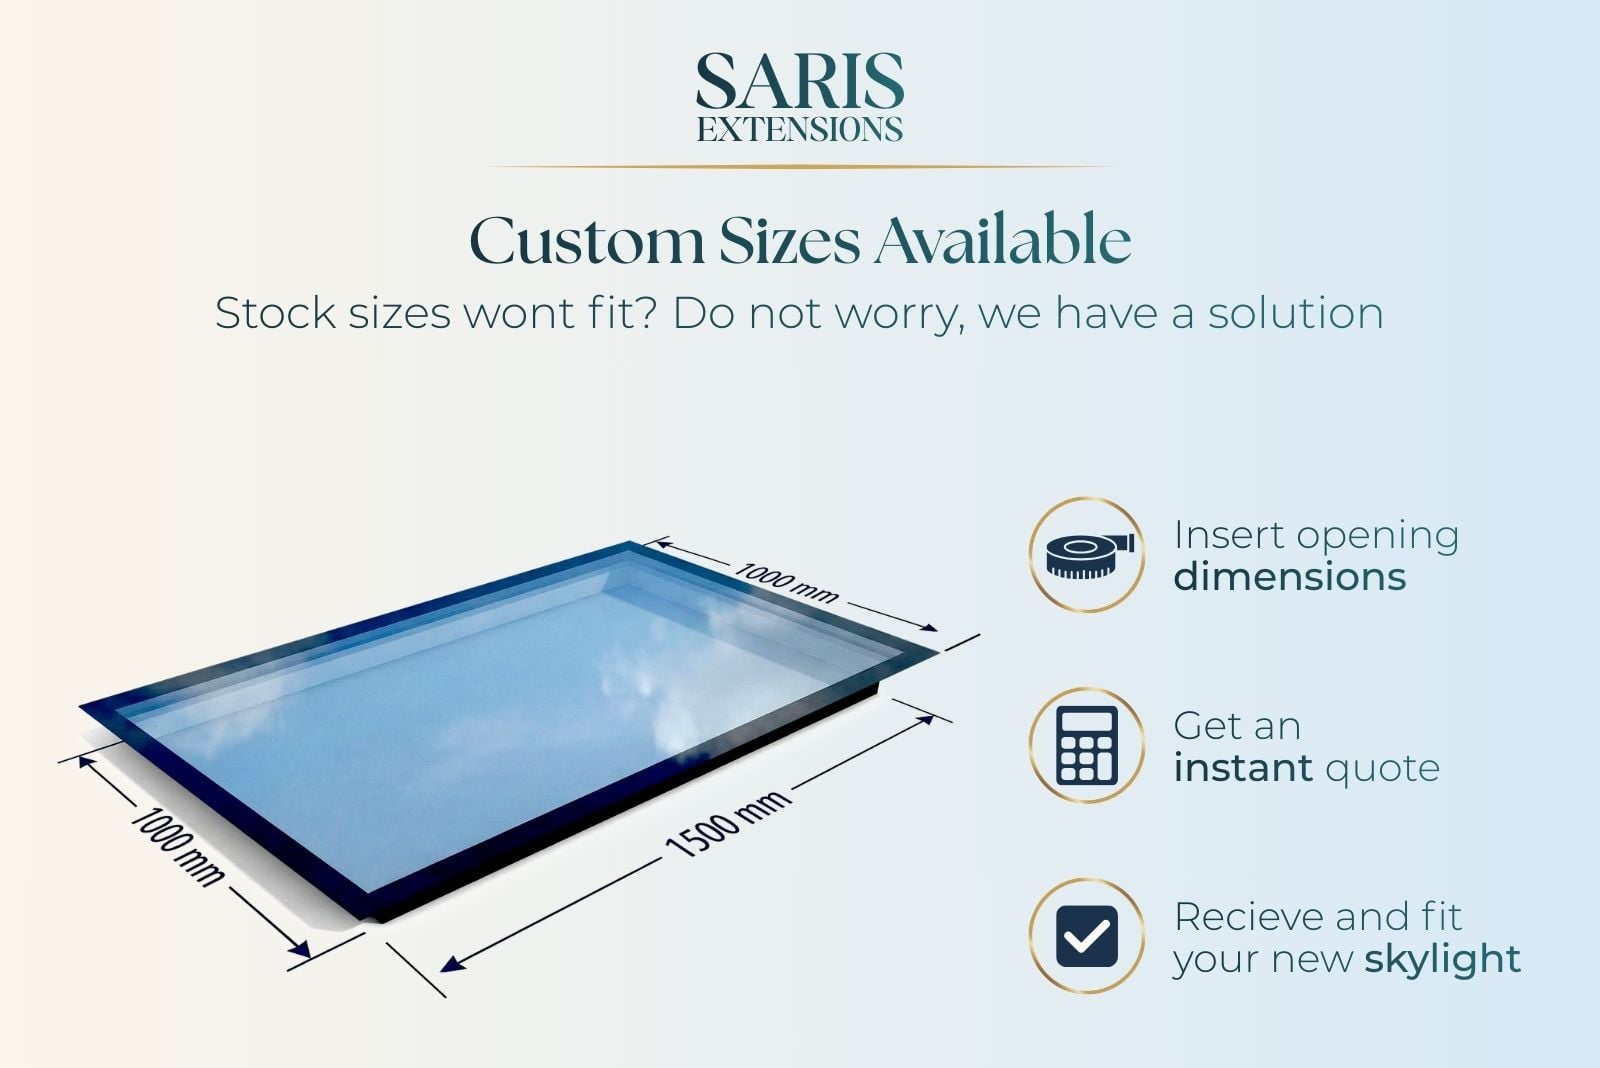
Find Your Perfect Fit with Our Custom Size Skylight Calculators
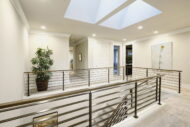
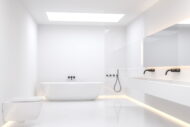
Choose our skylights for a superior, clear, and comfortable living environment.
At Saris-Extensions, our Flat Roof Skylights are more than just an architectural feature; they are a fusion of advanced technology, energy efficiency, and sleek design.
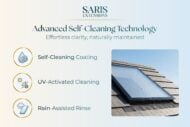
 Best Price 20 Years Warranty Guarantee Payment Safety Self Cleaning Clear Tint UV Protected Free Delivery within London (M25) Аll Glass Panels Safety Toughened and Laminated Glass Made In EU London Based Stock Quick and easy installation Step By Step installation guide 24/7 technical helpline


Harper Taylor –
Having a skylight installed in our Bristol home has been one of the best home improvement decisions we’ve made. Thanks to Saris Extension, our home is filled with natural light even on the gloomiest of days. The custom design perfectly fits our roof, and the eco-friendly packaging is definitely a plus. We couldn’t be happier!
David Hansworth –
The triple glazed skylight from Saris Extension exceeded my expectations. The extra insulation has made my flat roofed home so much cosier, and the amount of daylight it brings in is just fantastic.
Eva Ryan –
The triple glazed skylight from Saris Extension has been a wonderful addition to my flat roof. I’m so pleased with the extra daylight it brings in, and how it helps maintain the indoor temperature.
Esme Kelly –
We pride ourselves on providing quality, and these skylights are an integral part of our offering. The fact that they’re still as effective and aesthetically pleasing after a couple of years is a testament to their high-quality build.
Emily Shaw –
Our flat roof skylight in Sheffield has made the entire room feel lighter and more open. The design is beautiful, and the quality is superb.
Harper Shaw –
We love our frameless roof window. It makes the whole room feel so much bigger and brighter.
Leo Edwards –
Flat skylights were the perfect addition to our home office. The natural light has made such a difference.
Sophie Russell –
The fixed roof window in the living room has made it so much brighter. The room feels completely different now.
Archie Richards –
Extremely happy with our flat roof windows. The amount of natural light they let in is exactly what we needed.
Ava Patel –
Frameless roof windows in our loft conversion look fantastic. The light is perfect, and the space feels so open.
Jack Bennetton –
Flat skylights in our hallway have transformed the space. It feels modern and full of light.
Eva Halas –
Flat roof windows were a perfect addition to our bedroom. The light they bring in is lovely.
Jakub Blazek –
The fixed roof window in our living room has made such a difference. It’s bright and cozy.